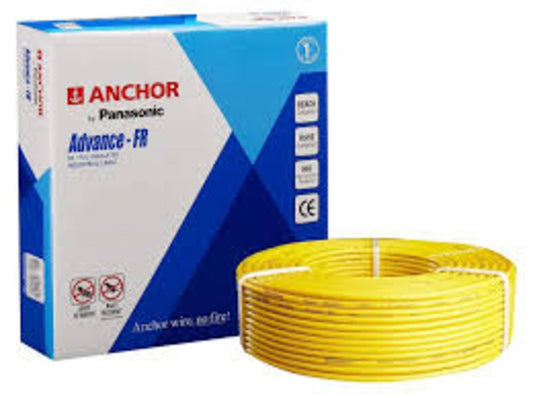
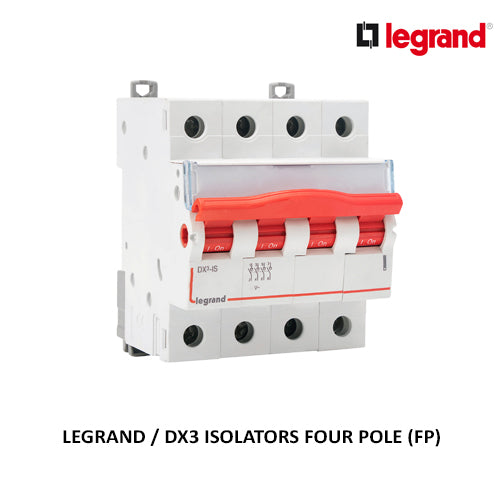
Installing a switch board correctly is crucial for safety, functionality, and aesthetics. Anchor switch boards are known for their high quality, durability, and sleek designs, making them a top choice for homes and offices.
Whether you're installing a new switch board or replacing an old one, this guide will help you understand the process, safety precautions, and best practices for a smooth installation.
🔥 Why Choose Anchor Switch Boards?
Here’s why Anchor switch boards are highly recommended:
✅ High-Quality Material – Long-lasting and fire-resistant.
✅ Modern & Stylish Designs – Enhances the look of any space.
✅ Easy to Install – User-friendly design for hassle-free installation.
✅ Multiple Configurations Available – Suitable for residential and commercial use.
✅ Safe & Secure – Shock-proof and compliant with electrical safety standards.
🛠️ Tools & Materials Needed for Installation
Before starting the installation, make sure you have the following:
✔️ Anchor Switch Board (Modular or Non-Modular)
✔️ Screwdriver Set 🔩
✔️ Wire Strippers & Cutters ✂️
✔️ Insulated Gloves 🧤
✔️ Voltage Tester 🔌
✔️ Drill Machine (if needed) 🛠️
✔️ Wall Plugs & Screws 🔧
📌 Step-by-Step Guide for Installing an Anchor Switch Board
Step 1: Turn Off the Power 🔴
Before starting the installation, switch off the main power supply to avoid any electrical hazards.
Step 2: Remove the Old Switch Board (If Applicable) 🏗️
-
Use a screwdriver to unscrew the existing switch board.
-
Carefully disconnect the wiring and label them for easy reinstallation.
Step 3: Prepare the Mounting Area 🏠
-
Check if the wall cavity is the right size for the new switch board.
-
If necessary, drill holes and insert wall plugs for secure mounting.
Step 4: Connect the Wiring 🔌
-
Match the live, neutral, and earth wires to their respective terminals.
-
Ensure all connections are tight and secure to prevent loose wiring.
Step 5: Fix the Anchor Switch Board 📏
-
Carefully place the switch board into position.
-
Secure it with screws and ensure it is tightly fitted.
Step 6: Test the Installation ⚡
-
Turn on the power supply and check if all switches are functioning properly.
-
Use a voltage tester to ensure correct connections.
🏠 Anchor Switch Board Installation Tips
✔️ Always use insulated tools to prevent electric shocks.
✔️ Avoid overloading a single switch board with too many connections.
✔️ Ensure proper wire insulation to prevent short circuits.
✔️ If unsure, consult a professional electrician for assistance.
🎯 Conclusion
Proper installation of an Anchor switch board ensures safety, efficiency, and a neat finish for your home or office. By following the right steps and precautions, you can install your switch board with confidence.
For professional installation services and the best deals on Anchor switch boards, contact us today!
📞 Contact Us for Installation & Best Prices!
📞 Call Us Today: +91 6361689226
📧 Email: kushalele@yahoo.com
🌐 Visit Our Website: kushalelectricals.co


